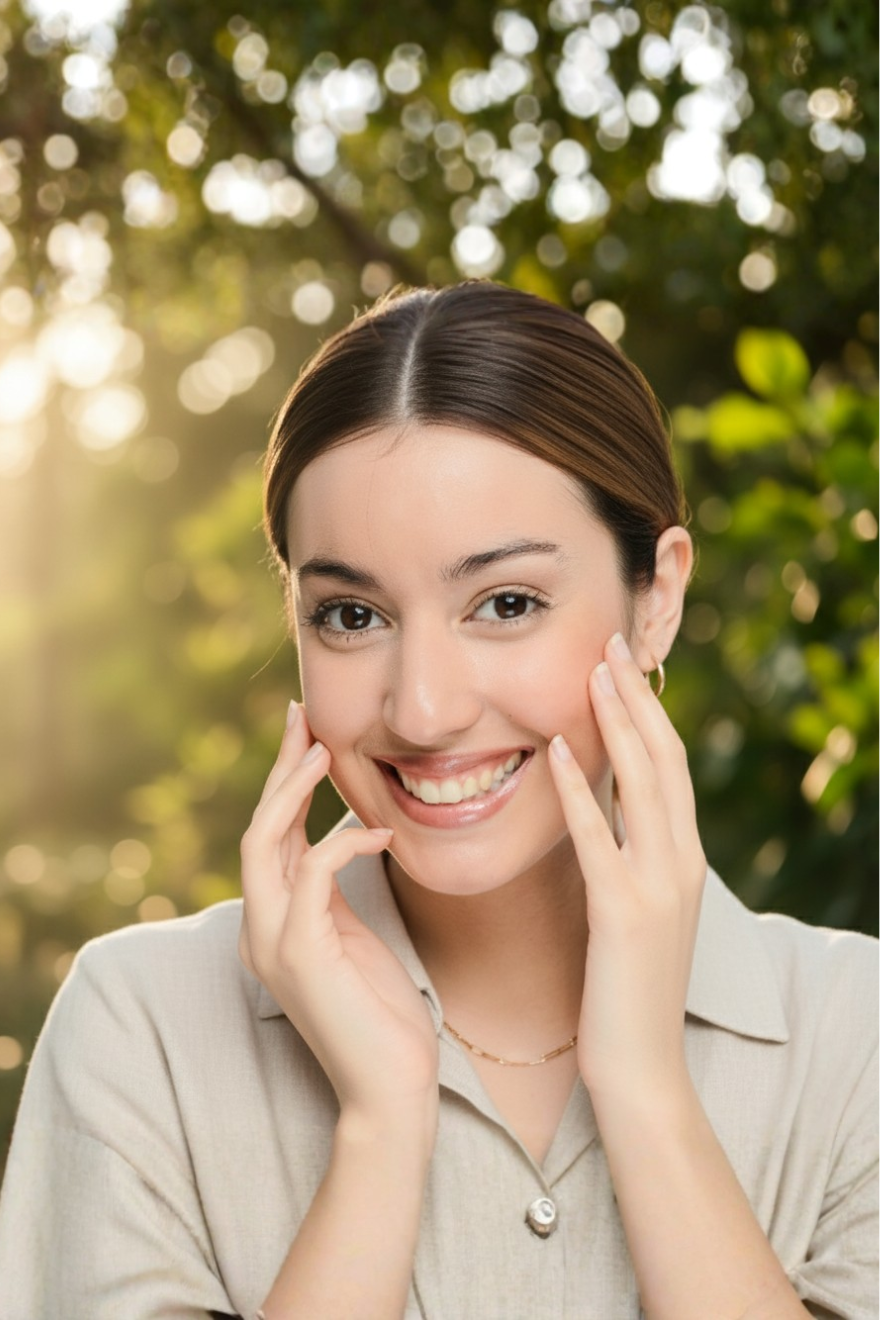
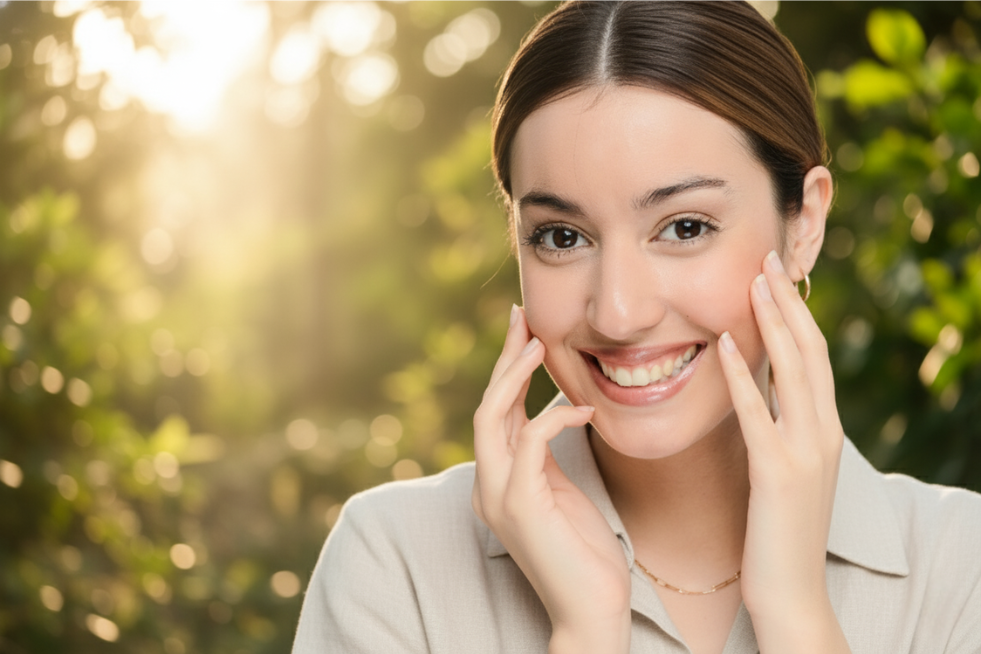
6 Facial Yoga Exercises to Practice with Facial Oils

Yoga is an ancient Indian body practice. It is rooted in the philosophy of uniting your breath with your body and thereafter, the world around you. You may already know about the many health benefits of yoga but did you know about facial yoga?
What is Facial Yoga and how can Anti-Ageing Face Oils help?

Facial yoga, as the name suggests, is a yoga practice that targets the muscles on your face. A regular facial yoga practice tones your face muscles making you look healthier and younger. They are a combination of massage and acupressure facilitating the flow of blood and the production of collagen. Both of which will give your skin a very healthy glow.
However, don’t try face yoga exercises on a dry face as you can pull or loosen your skin. It is advisable to apply an anti-ageing face oil like Argan or Bakuchi oil to your skin first to give your hands a nice little slip. This will help you massage your face better.
Now, clean your face and hands and let’s jump into the exercises!
Exercise 1: Target Area - Cheekbones
This exercise prevents lines between the nose and eyebrows. It also lifts and tightens the muscles on your chin and sharpens your cheekbones.
Step 1: Turn your lips inward in a way that covers your teeth. Your lips will form a loose “O” shape.
Step 2: Then pull your cheeks backwards in the way that you would normally smile. It should look like you are smiling while covering your teeth with your lips. Repeat this motion a few times.
Step 3: The second part of this exercise targets the neck and chin area. Place your pointer finger on your chin. Keeping your teeth covered, open and close your mouth as you tilt your head backwards slowly. Then bring it forward. Repeat this motion a few times.
Read: All You Need to Know About Bakuchiol: The Anti-aging All-Star
Exercise 2: Target Area - Forehead
This exercise helps to release stress and tension that builds up in the forehead area. It also boosts circulation and collagen production.
Step 1: Take your four main fingers and place them in the middle of your forehead, horizontally.
Step 2: Gently brush them outward and back towards your temples. Remember, don’t pull or tug at your skin very hard. Repeat this exercise a few times until you feel relaxed.
Exercise 3: Target Area - Neck and Jaw
This exercise targets the muscles on the neck, chin and jaw.
Step 1: Tilt your head back and place the tips of your fingers at the top of your neck.
Step 2: Gently brush downward towards your collar bone.
Step 3: When you reach the collar bone, hold your hands there and stick your bottom lip out in a pout. You should feel a nice stretch along the front of your neck all the way up to your jaw. Hold that position for a while.
Exercise 4: Target Areas - Eyes
This exercise reduces wrinkles around the eyes. It is also known to prevent sagging
Step 1: Apply some anti-ageing face oil to your face
Step 2: Make a peace sign with both your hands, the one that looks like a ‘V’.
Step 3: Place your fingers on your face. The tips of both your middle fingers should be on either side of your nose, and your pointer fingers should touch the outer corners of each eye. You should be forming a sort of ‘W’ on your face with your fingers.
Step 4: Look upwards with only your eyes (your neck or head should not move). Then push your eye bags upwards in a squinting motion. When you squint you should feel a little shake on the outer edge of your eyes. Repeat this movement a few times. On your last repetition, close your eyes tightly shut and feel for the shake.
The shakiness is a sign that your muscles are contracting and relaxing, so look out for that.
Read: The Untold Secrets of Lavender Body Massage Oil
Exercise 5: Target Area - Eyes and Cheeks
This one is a slightly complicated exercise so follow the instructions carefully. It strengthens the muscles around the eyes, preventing lines and hollows from appearing. It also has a dual effect as it works the muscles in the lower part of your mouth as well.
Step 1: Take your pointer fingers and place them horizontally on each cheek, touching your nose.
Step 2: Scrunch your lips into a small ‘o’ shape.
Step 3: Look up and flutter your eyes as much as you can. Keep this going for 30 seconds feeling those muscles engage under your eyes.
Exercise 6: Acupressure Points
The following few exercises will help you find specific points along your lines of energy that will help you relax specific parts of your face. It is a simple way to give yourself a massage to release stress and tension.
Forehead: Place your index finger between your eyebrows, then at the same spot, gently move it in a circular motion clockwise and then anti-clockwise. This is an acupressure point that improves blood circulation, relieves tension and helps you sleep better.
Jaw: Using both your hands, pinch the skin along your jawline in quick fast motions moving all the way to the back and then forward again. This helps to lift and strengthen your jawline.
Ears: Gently pinch your earlobes three times, then move to the outer edge of the ear and pinch three times and finally move to the top of the ear and pinch three times. This pressure point helps to improve circulation and has been commonly used in ancient Indian medicine for many years.
The Bottom Line
Practice Facial Yoga with your anti-ageing face oils to extract maximum benefits from the product. These oils are specially designed to penetrate deep into your skin so accompanying them with a facial massage increases their potency. At Life & Pursuits, we believe in the power and efficacy of the ancient Indian medical practice of Ayurveda, therefore our anti-ageing face oils and yoga are a match made in heaven.
Check out our website for more products.